





How to Use a Gua Sha Tool, Step by Step
Technique matters more than the stone. A cheap gua sha tool used correctly will out-perform an expensive one used carelessly, whether it's a simple stone or one built like Mount Lai's. Here's a routine that works for most faces, with notes for sensitive skin along the way.
1. Cleanse and Apply Facial Oil First
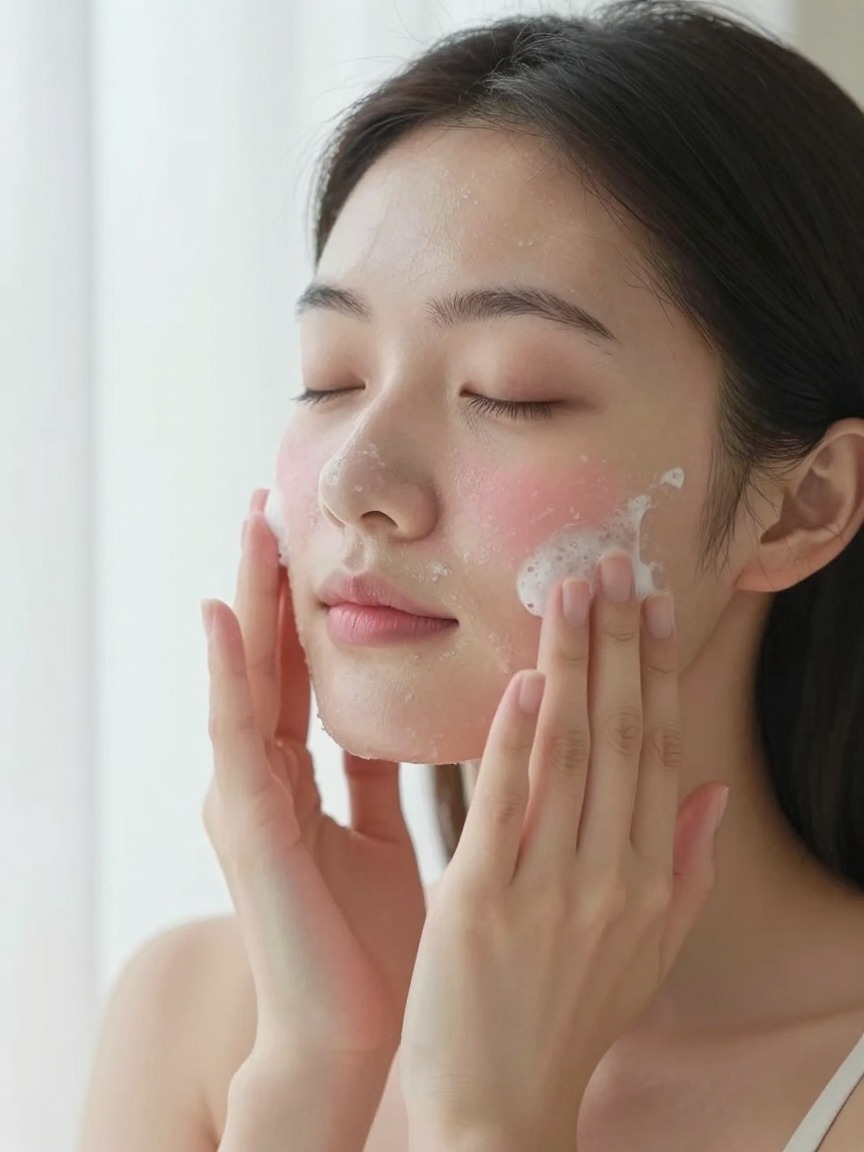
Cleanse first — gua sha over makeup or sunscreen just pushes product around instead of massaging skin. Apply a facial oil generously to the area you're working on. You should be able to glide the stone without any drag or resistance. If it catches or tugs at all, add more oil before continuing.
2. Neck Strokes for Lymphatic Drainage & Circulation
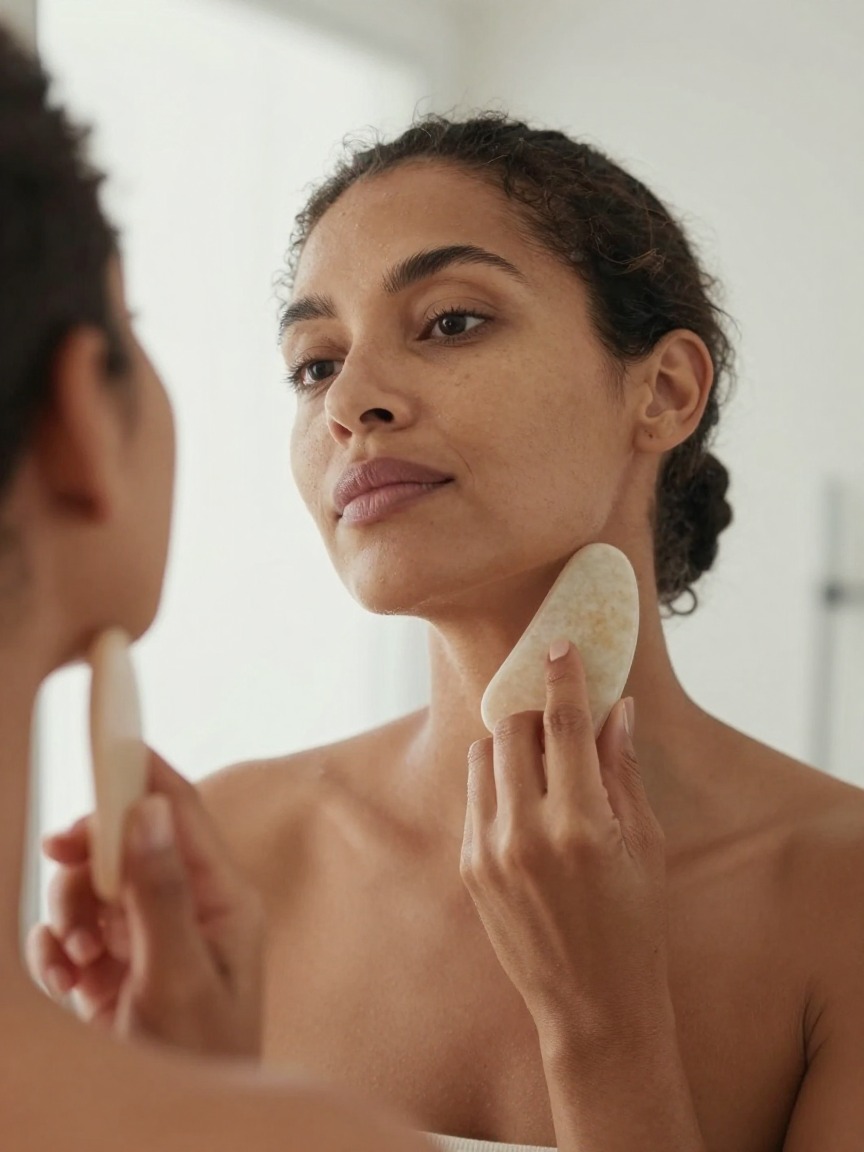
Lymphatic fluid drains toward the neck, so most routines clear that pathway first for better circulation. Use the flat edge of the tool and sweep gently down the sides of the neck, from ear to collarbone, five strokes per side. This is a light-pressure step. You're not trying to reshape anything here, just opening the route the rest of the lymphatic drainage massage will flow into.
3. Jawline and Cheeks: Stroke Angle & Pressure
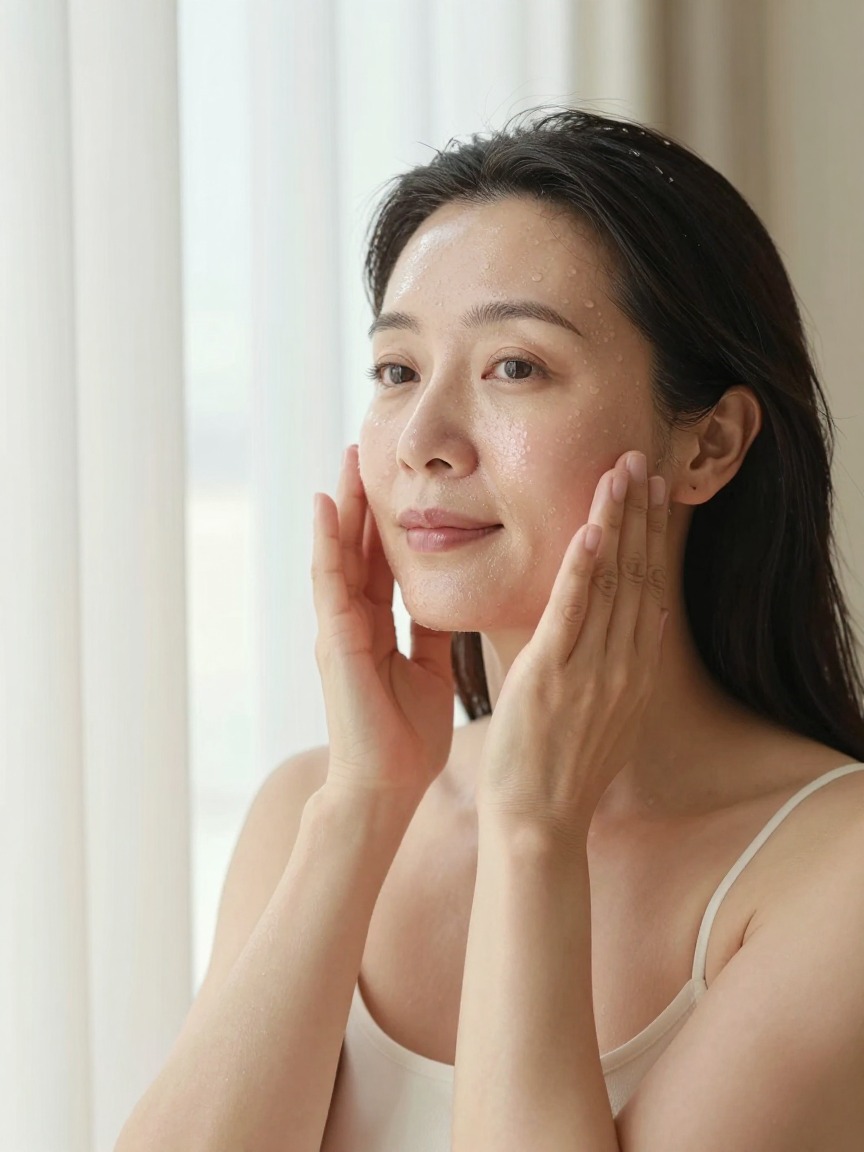
Angle the flat edge of the stone at roughly 15 to 30 degrees against the skin — nearly flat, not upright. Sweep from the chin out along the jaw to the ear, then from the corner of the mouth up along the cheek to the ear, five to seven strokes per side. Use firm but comfortable pressure, enough to feel the muscle underneath without leaving lasting redness.
4. Under-Eye and Brow Bone Technique
Switch to the smaller curved notch of the tool. This under-eye technique needs very light pressure, since it's the thinnest skin on the face — sweep from the inner corner out toward the temple along the bone, three or four passes. Along the brow bone, a slightly firmer sweep from the inner brow out to the temple can help with tension and tired-looking eyes.
5. Forehead Strokes for Tension Relief
Work from the center of the forehead outward toward the hairline in both directions. This helps release tension for anyone who holds stress in their brow. Finish with a few strokes straight up from the brow to the hairline if you like — many people find this the most satisfying part of the routine.
6. Finish, Clean Up & Reduce Puffiness
End by repeating the neck stroke to help move everything you just worked loose toward the drainage points, which is what settles the puffiness. Wipe off excess oil, then wash your tool with mild soap and warm water and dry it before storing — oil left in a stone's grooves or a roller's barrel will turn rancid and harbor bacteria.
How Much Pressure Is Too Much
A good rule of thumb: any redness should fade within a few minutes. If you see marks, welts, or bruising that linger for hours or days, you're pressing too hard or using too little oil. Gua sha isn't meant to hurt. Discomfort is a sign to ease off, not a sign it's "working."
If Sensitive Skin Reacts: Redness & Irritation Signs
Mild, temporary redness right after a session is normal and should fade within minutes. If you notice ongoing redness, small broken capillaries, breakouts along the path you massage, or skin that feels irritated hours later, stop and reassess. You're likely using too little oil, pressing too hard, or using the tool too often for what sensitive skin can currently tolerate. Pause for a few days, then reintroduce it with lighter pressure and more oil. If irritation persists even at a light touch, or if you have a diagnosed skin condition like rosacea or eczema, check with a dermatologist before continuing.
Frequency
Three to five sessions a week, five to ten minutes each, is a realistic routine most people can actually stick with. Daily is fine if your skin tolerates it and you keep the pressure light. There's no evidence that more frequent or longer sessions produce better results, and overdoing it on delicate areas like under the eyes can cause irritation instead of benefit.